
Hi,
When I export a garment and have a thickness added, the thickness UV's are hidden behind other meshes in the UV viewport. Is there a way to export these edge UV's attached in their correct position(just added to the current UV mesh)?
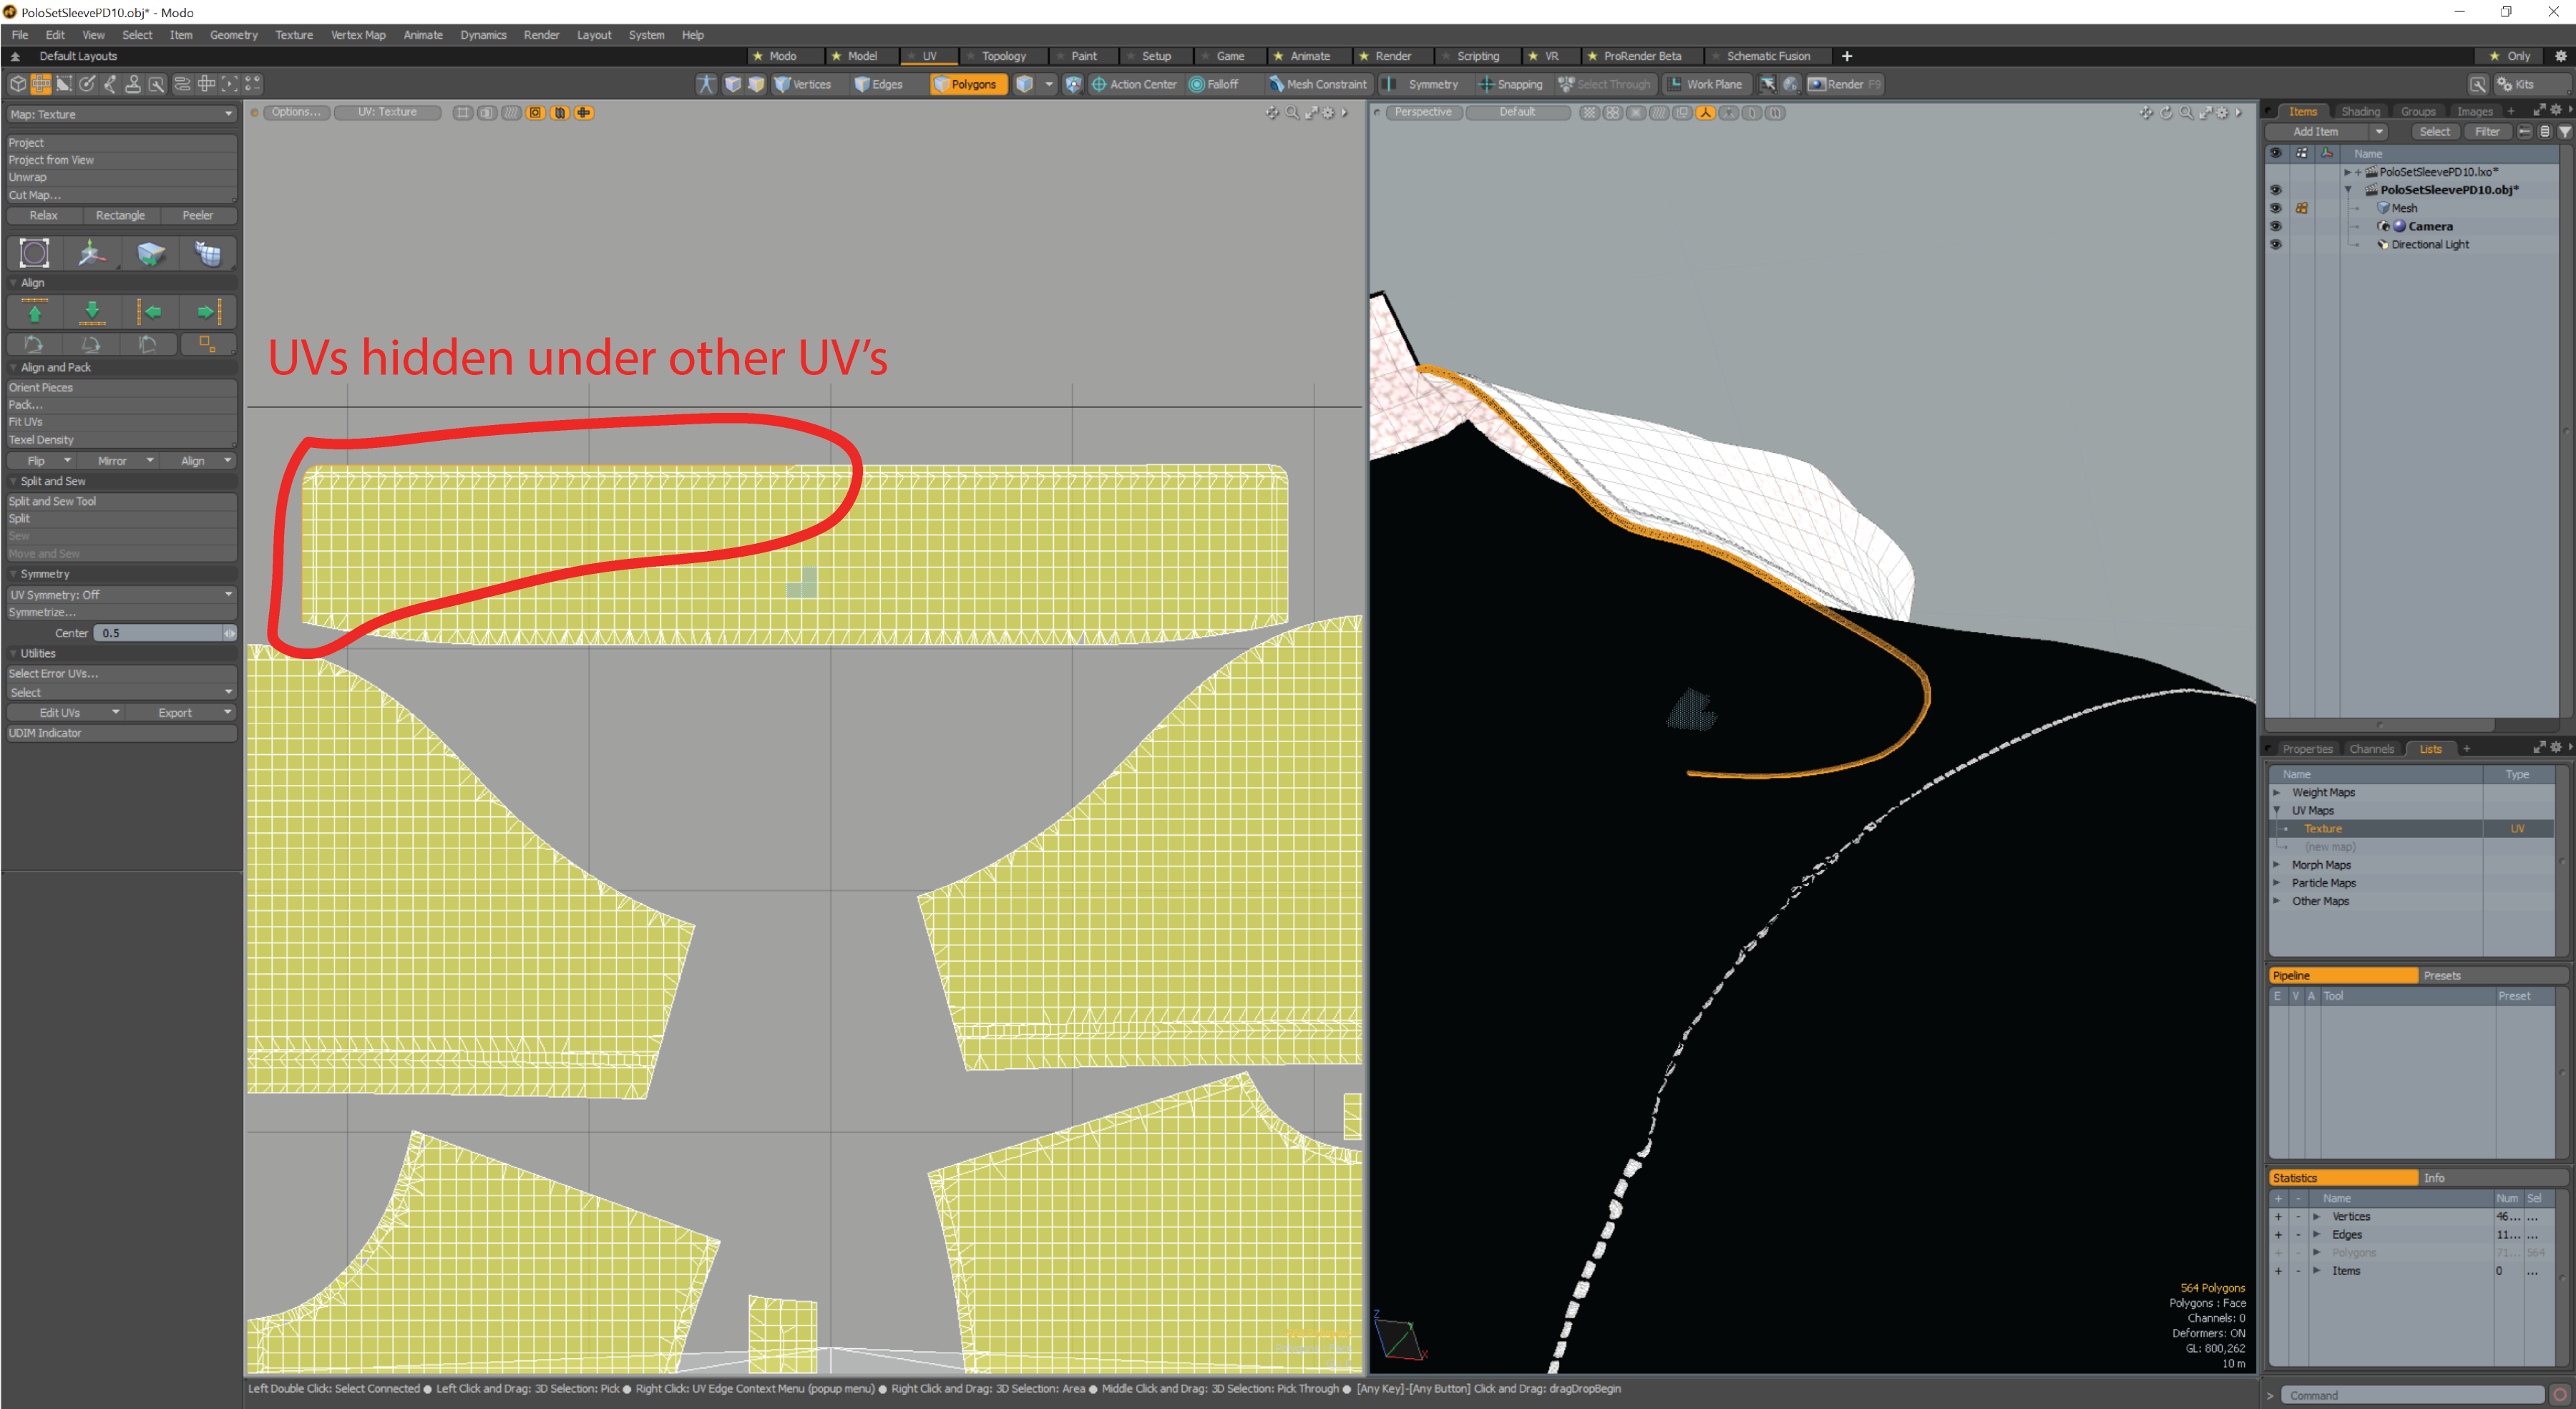
Cheers
Damian
[ No. Is the short answer. ]
_ _ _
It's best to export the MD garment model mesh as welded > thin and then add a thickness modifier in modo. >> [ Modo Video ] Click link
NON-DESTRUCTIVE GARMENT EDITING WORKFLOW
The process is to set you garment up correctly in MD to match your Modo thickness mod for a non-destructive editing workflow in Modo such that it matches the render view (thickness) you have assigned to pattern pieces in MD :
Step 1. In MD make sure your patterns + fabric use unique base colors in the shader. (This is crucial) Drag and drop a unique base color (fabric) onto the pattern group pieces in your garment. A unique ID Base Color can be made by using the swatch pallet for the base color or manually typing in a unique RGB value.Typically for this process I would have a set of primary color fabrics that have matching base colors that I can use for this pattern ID export task saved to my fabric stack > pulled from my fabric library. [ This is kind of like setting polygroups by color in zBrush or Blender 2.83 mesh sets by color. ]
Step 2. Check each pattern piece has both their additional render thickness and additional collision thickness set to represent the precise seam joint for real world simulation. This means you should NOT set collision thickness to be too far beyond the actual fabrics render thickness. (0.5mm at most) > Take a note of these additional render thickness measurements on paper for future reference.
eg:
Step 3. Ensure your UV and pattern pieces have been defined in the UV Editor and laid out onto the UDIM map grid at a UV scale to suit your project. Set the pattern edge bleed on export.
Step 4. When you export > export the entire garment as thin welded mesh (not thick mesh). Export base colors for modo. Define the UV bleed amount. You will change this thin mesh to thick mesh in Modo to reflect the exact thickness you had in MD under thickness rendered view.
Step 5. On import to Modo ensure you have the mesh ID groups associated by the unique base color (shader material - MD Fabric you applied in MD).
Step 6. Split the welded model apart using the fabric (shader material) unique base color to identify that group of mesh vertexes. Apply the 'Thicken' tool to the mesh groups in the model. Use the exact same thickness measurement you noted earlier in MD. Offset equal distance either side of the model - as MD takes the thin mesh plane at the center of any thick render view. You can further enhance the softness of pattern edges (Radi that you see in MD) by adding in normal map edge treatment or bevel pattern edges before sub division in your modifier (stack). When using subd make sure you hold pattern corners so they do not radius (weight to zero).
Step 7. When you have checked your model mesh you can then decide to apply the stack to the model and unwrap the UV's or leave the model in a non-destructive work method as you progress adding in detail. You now have numerical control of your more efficient model and can expedite modelling in Modo without effecting pattern thickness until is matters.
:-) Thin mesh is better in many instances during the models development in the mesh editor stage within modo. You can get exactly the same look that you see in the MD development 3D view-port under thick textured view (Alt+1) and with show 3D seam-lines (shift+S) back into your model without resorting to high poly counts (eg: use a thin mesh + thickness offset modifier). This means you keep control to precise garment measures and have the most efficient workflow (non-destructive) available to you as you shift across in your CG pipeline.
Most importantly it's faster, (drag and drop stack onto garment model) you can apply these thickness settings in your model editor where you retain performance and not before modeling has concluded, without any disadvantage to the edge quality of your garment patterns. You can see I can increase (blue model) or decrease (pink model) the pattern edge radii to suit the pattern joint (change in fabric thickness from duchess silk to crepe) by simply changing the normal applied to the pattern edge and changing the thickness modifier value in the non-destructive stack.
I can control that into the bake onto the UV, where you would not get that precise control inside MD or with a thick mesh export from MD where all this decision making gets locked in. So using this method you retain precision, numerical control over all pattern edge radi, have bake options, change modelling thickness control in editing to suit other fabric and colorways, and keep aesthetic flexibility further down the pipeline when making directorial texturing decisions taht often happen downstream.
The only way to do it >> ludicrously fast >> drag drop modifier stack onto MD model >> and wham thickness view of model complete finished in 2 seconds >> apply stack >> unwrap edge UV >> bake normal's >> Finished.
Enjoy.
请先登录再写评论。