
Hello!
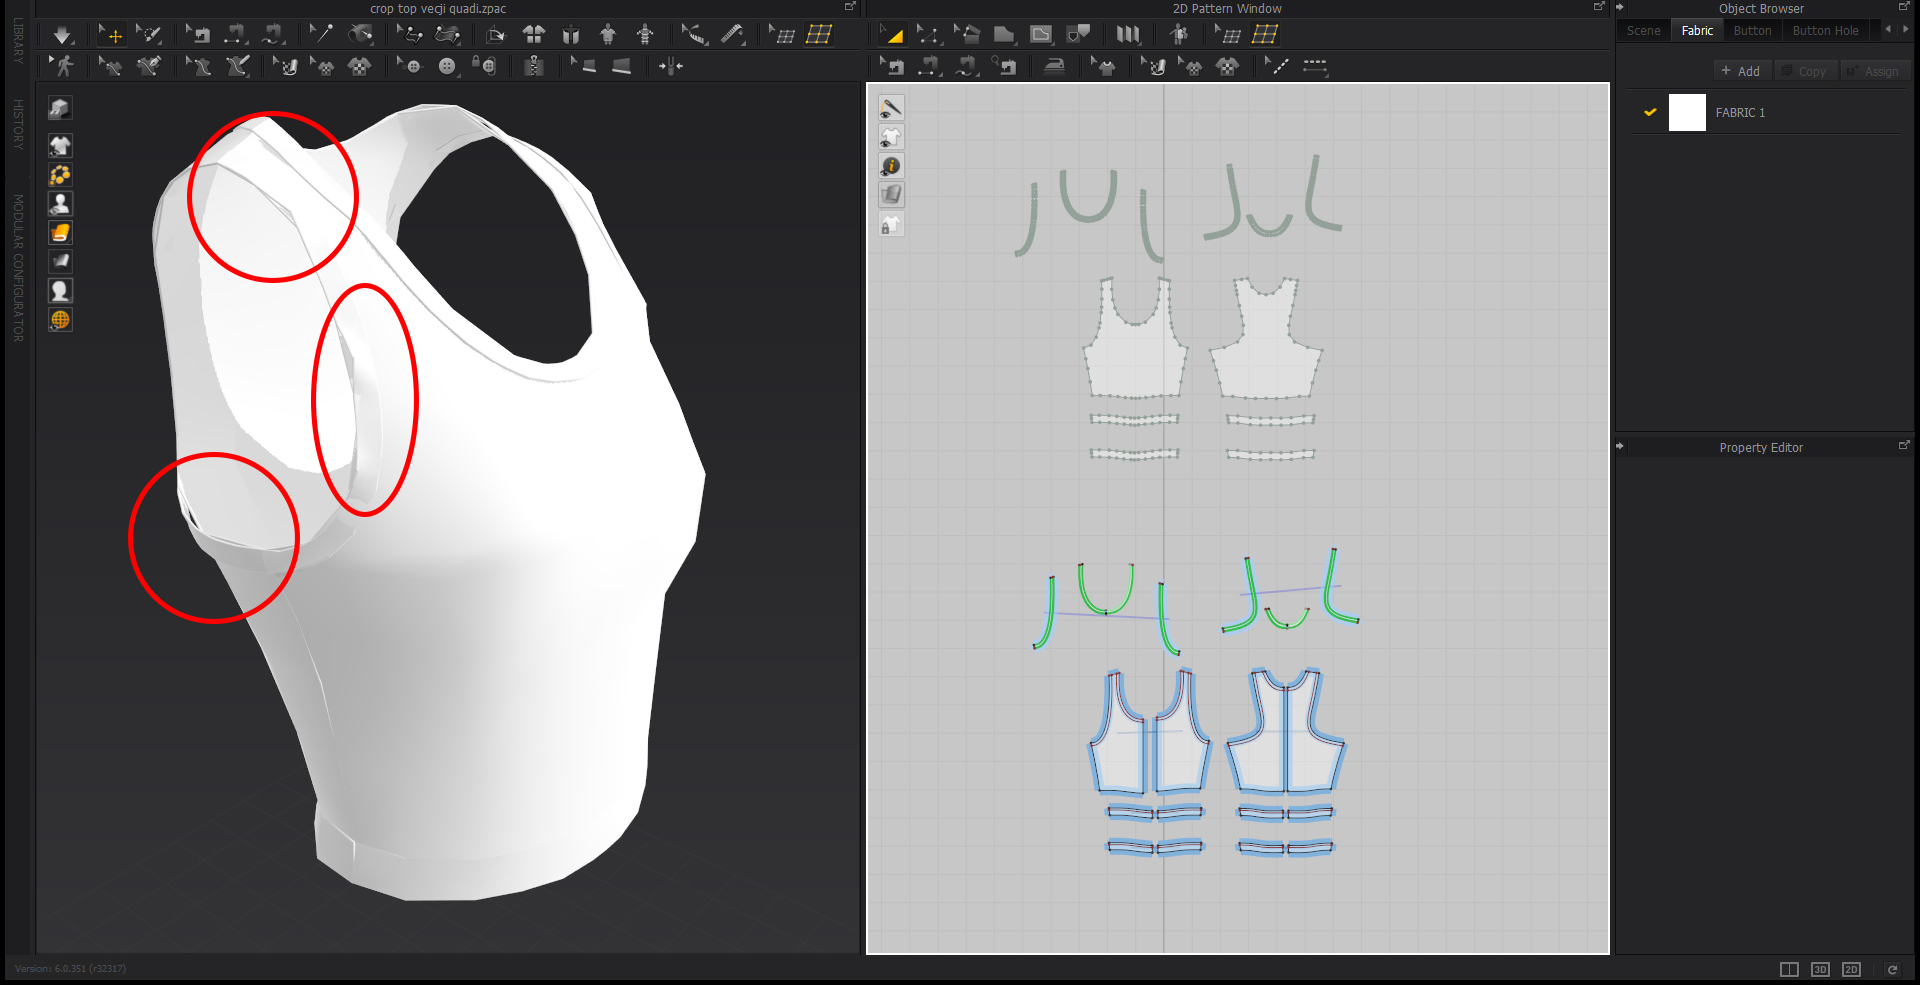
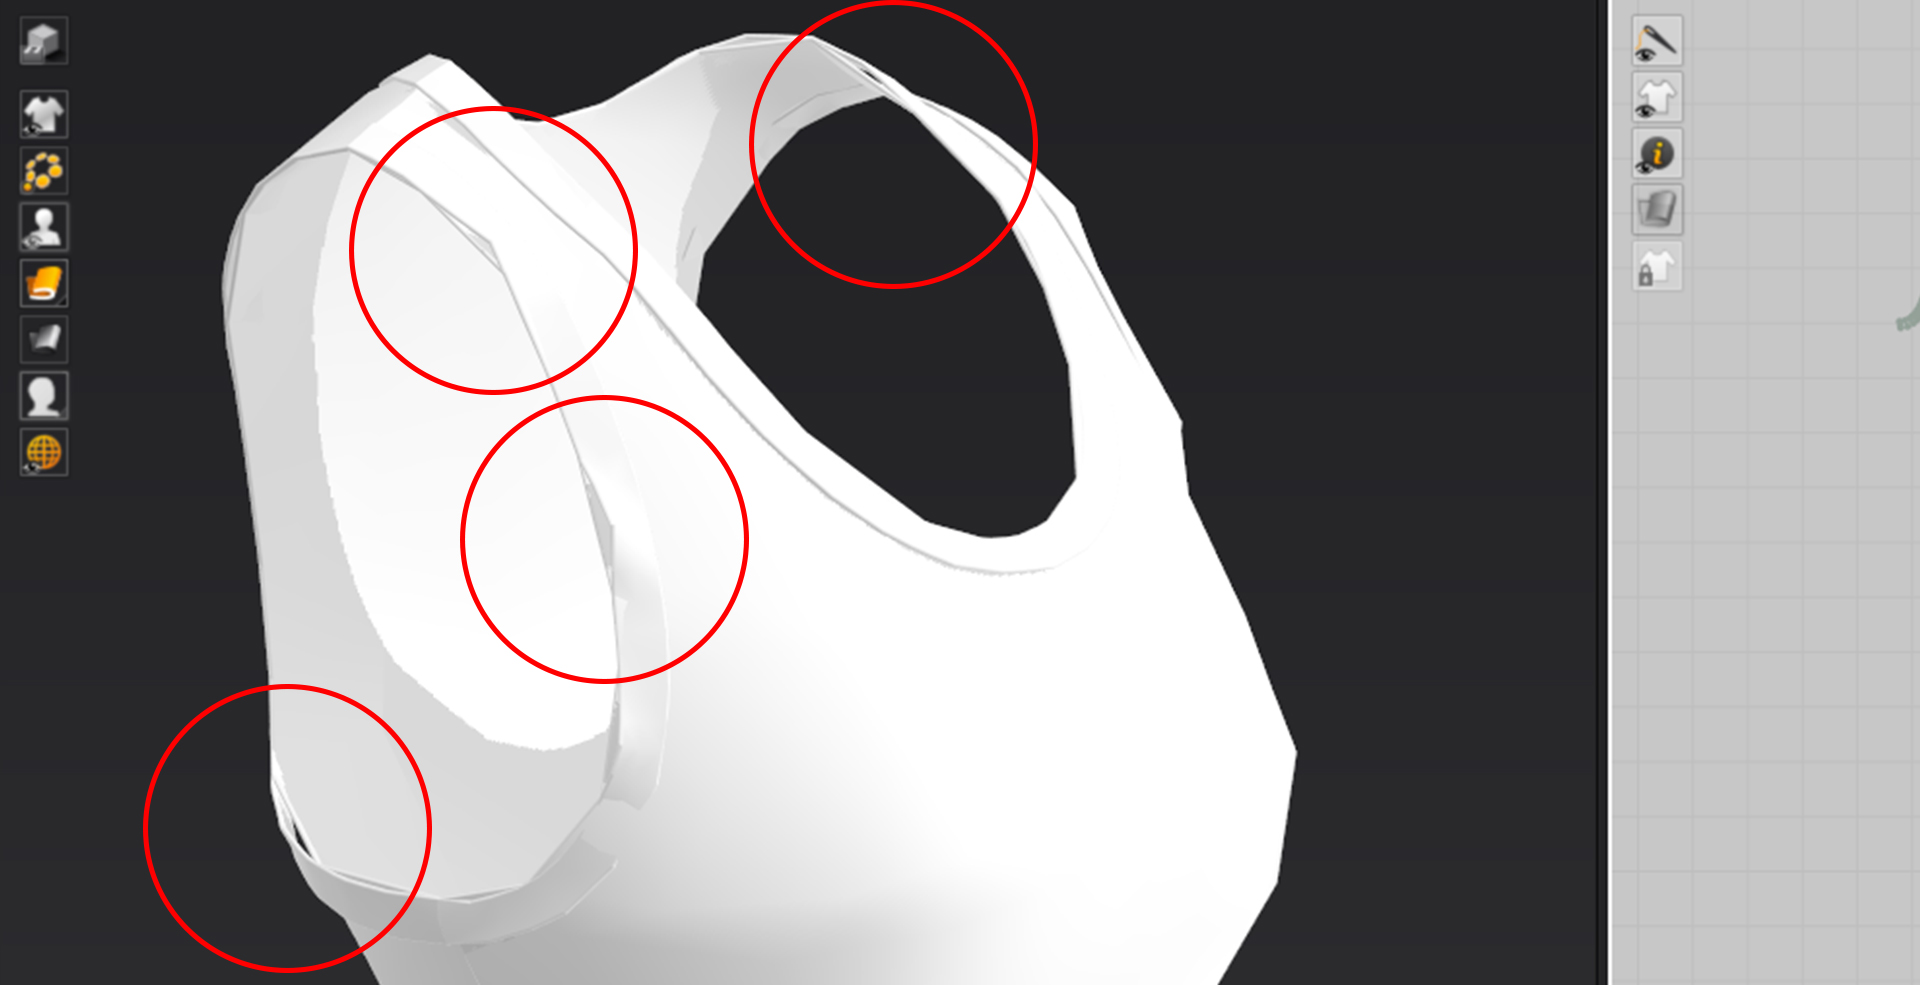
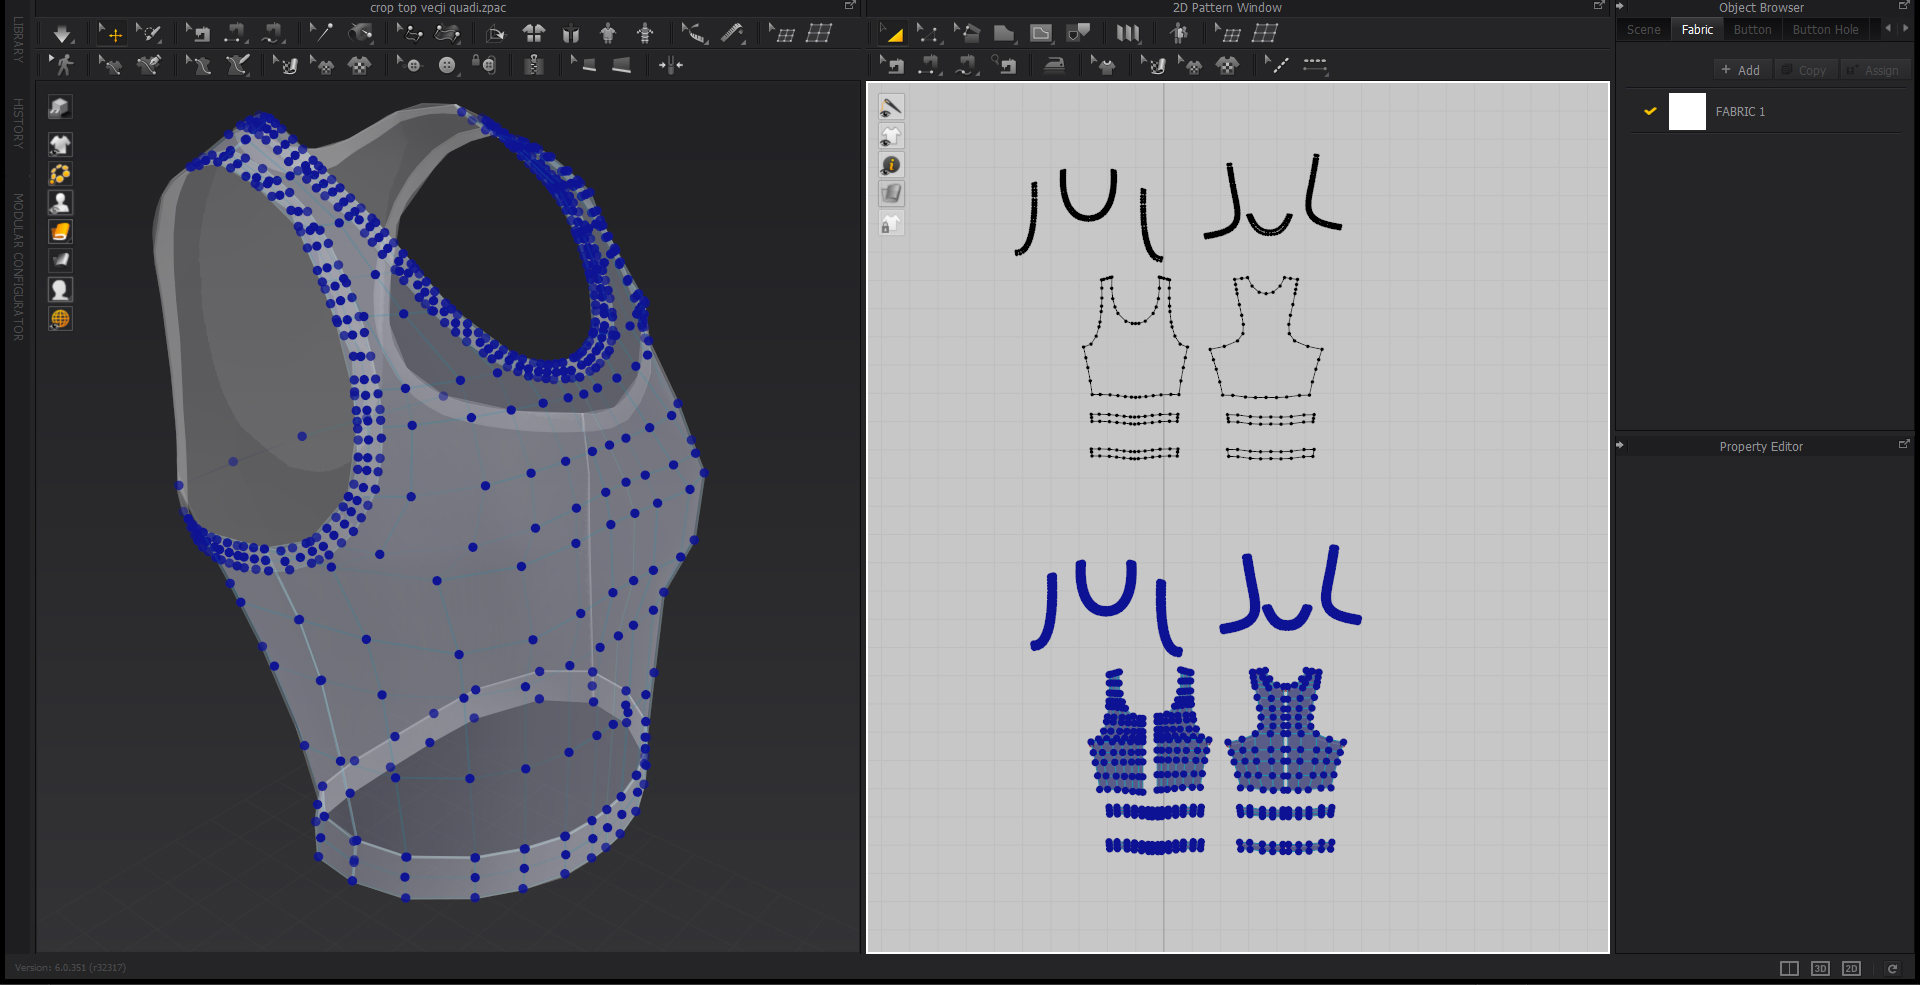
I have a problem with retopology - once I create all the retopology on patterns and later on I remesh all (duplicate), the clothing in 3D window falls apart. Everything that has been sewn together dissapers from the newly created retopology mesh. Does anybody have the same problem or knows how to solve it? Please help, thank you.
Any feedback/help is very much appreciated!
It looks like this:
Hello @...,
Thank you for contacting us!
Currently, using remesh tool will delete all the sewing relationships.
Please use remesh at the very end after you have made all the adjustments to the cloth.
Should you have any other questions, please let me know!
Thank you for your answer, but unfortunatley it didn't help me much.
I did use remesh tools after the garment was all done and stiched up together.
The problem is that the remeshed layer, the newly created one - falls apart when done.
Is there another solution to that problem?
Thank you,
Barbara
Yeah I'm having the same issue.
So I need a simulated cloth because I'm exporting the animation as an alembic
but the mesh is way to dense, so after going through the motions of of the remeshing, i have finally got a quad based wire frame the issue is that this is also still too dense.
so i tired the technique above that Barbara mentioned as she stated the sewing lines/internal lines all vanish but so does the simulated garment animation. there needs to be a way around this.
are there any fixes?
you left her question unanswered
Hello Juwad!
No unfotunatley I did not find any solutions that concerns remeshing in Marvelous Designer. And did not get any good answer from the team either :( But I also asked around some designers on instagram, and they all use different 3D programs for remeshing. One of them told me that after you draw quads in Marvelous Designer, you dont simulate, you just export it - but that to me doesn't make any sense, because you dont get a smooth clothing and as mentioned in my problem, you get holes between patterns and the clothing itself just falls apart...
But I can share solution and tutorials I am working on right now :)
So after the garment is all done, I export the OBJ file of clothing in 3D position and in 2D position (pattern). Next step is automatic remesh in ZBrush - when the mesh looks somehow good, I export Obj and put it in Maya 3D. In this program I can arange quads and make it look proper. If ZBrush program doesnt do good mesh, I simply draw it myself in Maya 3D. It is simple and much faster and actually working then Marvelous Designer.
Here are the tutorials I used and learn from:
https://www.youtube.com/watch?v=LY-5VOBjyLk&list=PLu3sj25lb2sI20Q42W797szPhCHefW6BC&index=1
and later on for thickness:
https://www.youtube.com/watch?v=o_Q-N8CoyCU&list=PLu3sj25lb2sI20Q42W797szPhCHefW6BC&index=11
just the basics in Maya 3D for retopology:
https://www.youtube.com/watch?v=xpDWta5O3n8&list=PLu3sj25lb2sI20Q42W797szPhCHefW6BC&index=7
But I also dont get this tutorial:
https://www.youtube.com/watch?v=iLOynuac0_k
when he draw all the quads he simulates the garment and it works (around 22 minutes). This never worked for me, still dont know why... if you find any solutions, please share :)
Have a good workflow <3
Grettings, Barbara
Hi,
The only solution that I could find was to sew everything again. That way I had the new mesh with the topology and my clothing item is welded. It is definitely not ideal but it is a workaround. I do not have Maya.
댓글을 남기려면 로그인하세요.