
Hi folks,
I'm looking to export a model with a unified 2-2 area, without shrinking it all down into the 0-1 tile.
Here's what I'm trying to export:
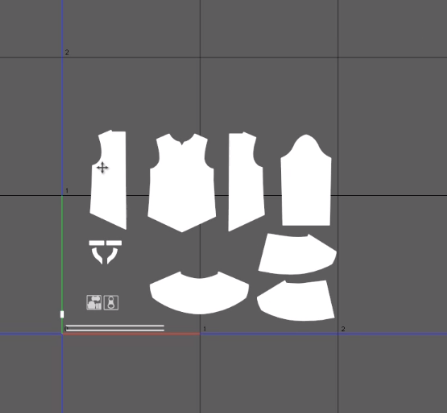
When setting the snapshot to 2-2 it still only maps the 0-1 area, checked with blender -
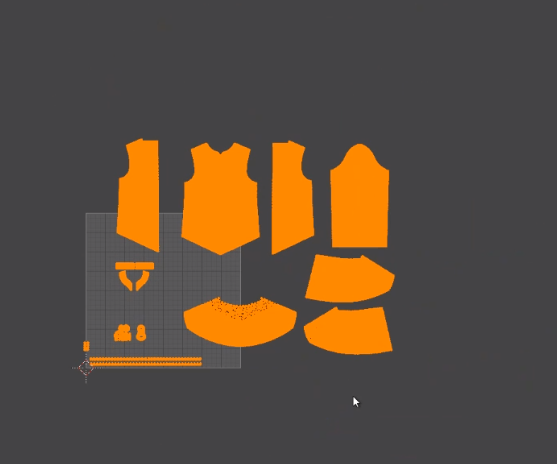
Is there any way I can get the overall texture to include more tiles?

Why would you want to map to the 2x2 area?
anyway there should be 4 images, each covering a 1x1 tile
check your save folder.
Hi Verbaas,
Thanks for your reply!
I wanted to map the 2x2 to maintain the pattern measurement, and keep it the same size as the 2D sewing window.
To fit it in the 0-1 area the clothing pieces need to be downsized - is there any other way to avoid this?
See video >> https://youtu.be/bcktNdJHUT8
Hello Jack,
Still not sure what you need it for. Normally the scale in uv space does not matter for actions on the graphical images.
However, if you wish MD can export the 2d representation, the uv vertices in true scale and representing the actual layout in the 2D space.
If in UV mode you do not 'scale to unit square' but do use 'Set V from pattern alignment' MD9 will make the uv space coordinates be the same as the xy would be in xyz space after you have used 'Reset 2D arrangement'. The unit used for the uv coordinates is then 'metre'. If you choose to export your .obj in metre scale, you will find the positions of the vertices the same.
If you choose 'thin' export and not welded, and have no piping, buttons or trims, the uv space vertices are 1-to-1 the same as the x and y of the xyz space vertices.
From an example:
vertex 3675 and 3676:
v -0.615412 1.798615 0.200000
v -0.684566 1.692888 0.200000
texture vertex 3675 and 3676:
vt -0.615412 1.798615
vt -0.684566 1.692888
Information is identical except for the z-coordinate of course.
enjoy.
サインインしてコメントを残してください。